

Our basement windows were a mess. They were a mess when we bought our house -- rusted open, rusted closed, providing poor insulation and protection from the weather. They were single pane, old glass, steel frame and casing in concrete, and original to the house. But it gets better -- within the last couple of years, they have had holes broken into them, leaving the basement drafty, damp, and buggier than usual. They were just lovely.


So I decided it was time to replace them. I've never done windows before, but I have wanted to, and basement windows seemed the perfect place to start. First I watched a few YouTube videos on replacing basement windows. The videos, of course, make it seem so easy. I made my list of tools and supplies (windows, concrete mix, professional caulking, and foam insulation), made measurements, and got started.
Part 1: Removing the old window from its frame.
This was much simpler than it seemed it would be. There was a single metal hinge on the window that easily slid up and out of the frame.


Part 2: Removing the frame/casing.
After realizing that the frame was steel and embedded in the concrete and understanding that I would need to rent a reciprocating saw in order to tear it out, I decided to forego this step and place the new windows without removing the frame.
Part 3: Preparing the new windows for insertion.
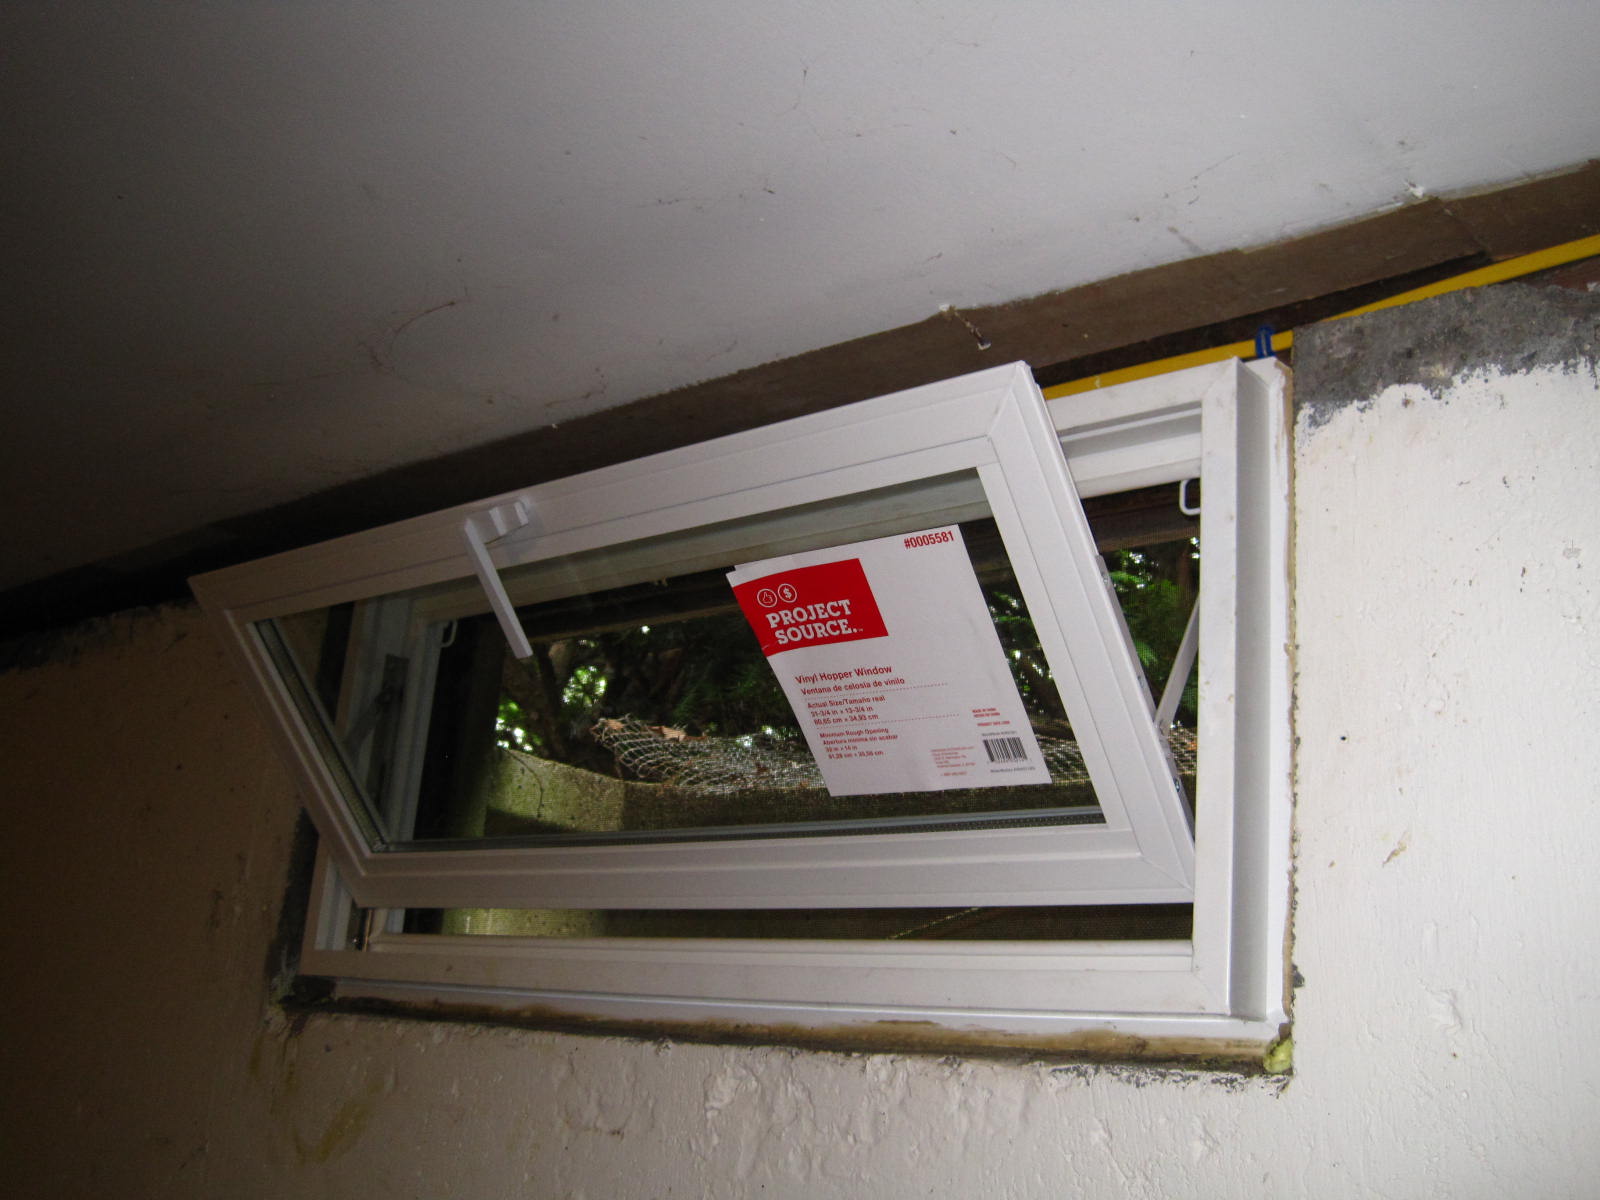
Crazily enough, the part I had the hardest time with was removing the glass from the new windows (Project Source Tilting Vinyl Windows from Lowe's) so I could easily work with the window frame without breaking the window. I finally discovered the clip on the inside of the window hinge that needed to be snapped open to unlock it -- a small screwdriver was the perfect tool for the job.

Part 4: Inserting the new windows.
I fit the new windows flush against the old steel frame. I had to fill some extra space with concrete (the new windows were slightly smaller than the space I was fitting them into). Then I sealed the window with caulk and filled the gaps with insulation. Since my basement is not a finished basement, a little mess around the windows isn't a big problem (though the windows I did after this one are a little neater).

Part 5: Replace the glass and screen into the window.
Reinserting the screen was tricky, since I had to fit it through the old steel frame and then into the new vinyl frame, but I discovered the trick, and the screens all went in. Then I put in the glass, which, because the windows are so close to the drop ceiling, was more difficult that it should have been.

I removed the stickers, washed the glass and frames, and shazam -- I had 3 new basement windows! I still have two windows left to replace, but I think I have the swing it now. (Maybe someday I'll even put trim around them.)
Each window took about a day, but not a solid day -- there was lots of free time because of all the drying that needed doing.
We are very happy with the new windows so far. The basement is quieter and less drafty, and the screens protect from random rocks breaking the glass and from bugs getting in when the windows are open (and they do actually open now). Plus, I saved a bunch of money by doing the work myself! Now it's time to get new covers for those window wells (which I will also have to make, since I have yet to find any in a store that actually fit).
Replacing basement windows soon? Good luck!
No comments:
Post a Comment